
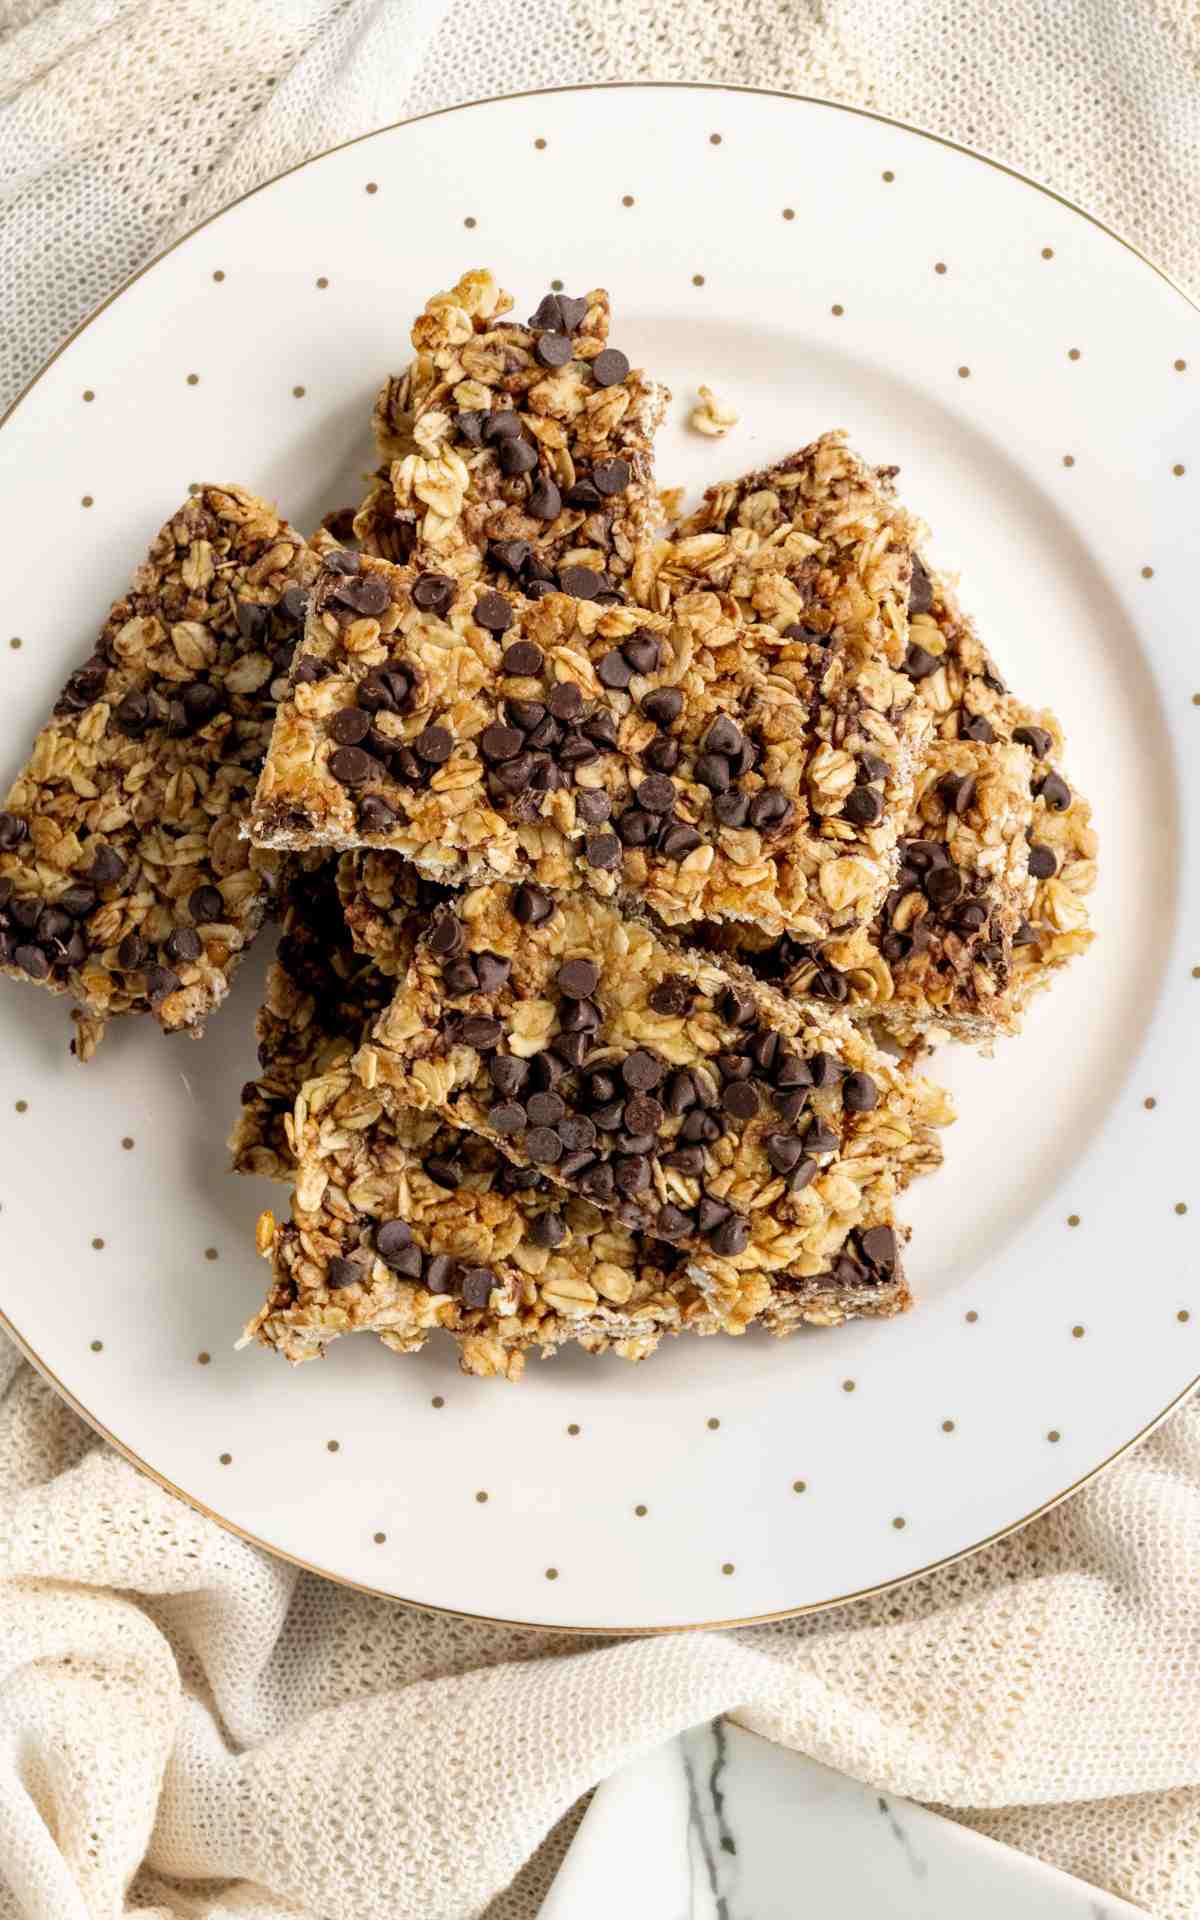
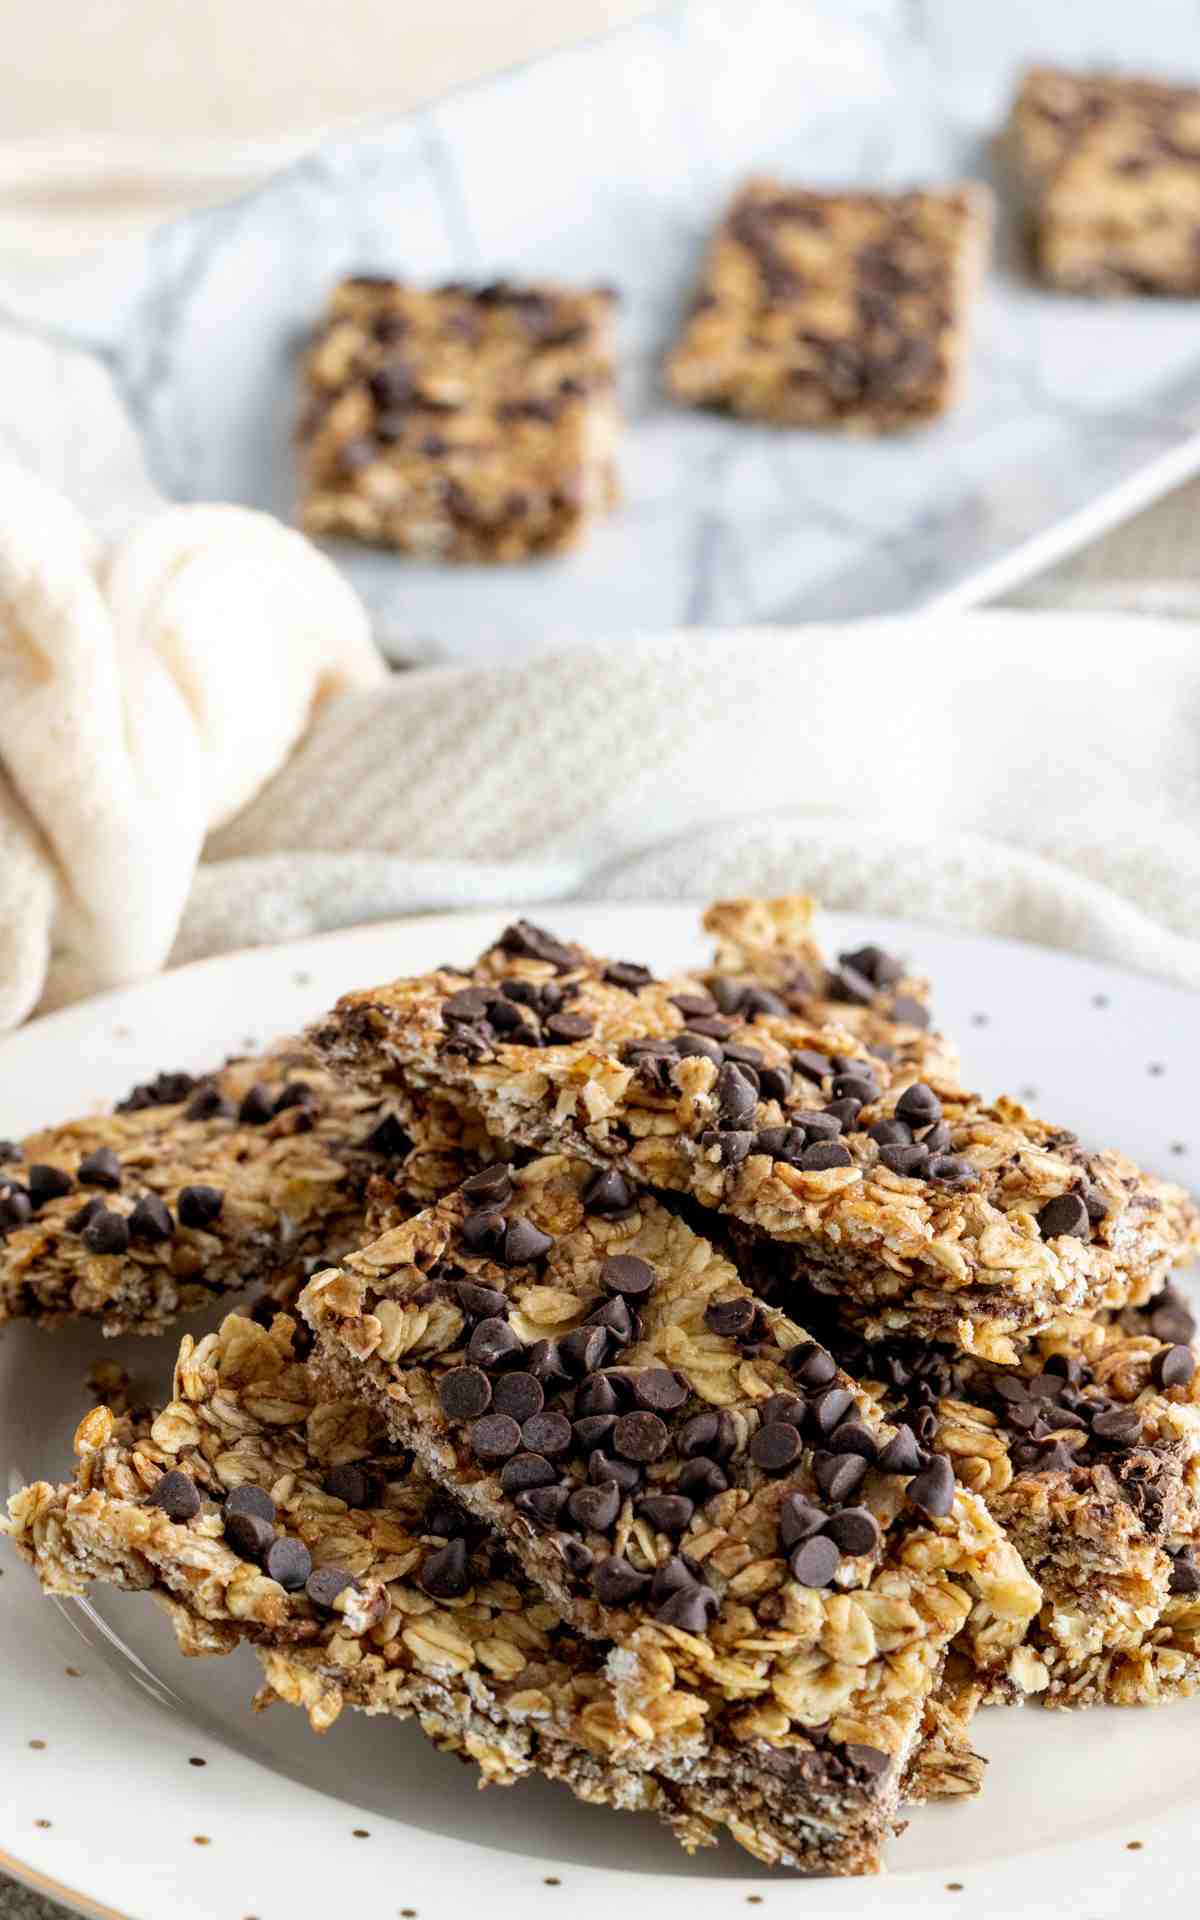
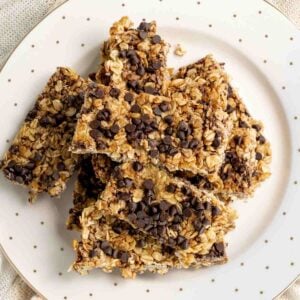
These homemade chocolate chip granola bars are one of those easy, no-bake recipes that just works. They're chewy, simple to make, and perfect for everyday snack time. Whether you're packing school lunches, planning homemade snacks for busy weeks, or just want something better than store-bought bars, this recipe is a favorite.
Why You'll Love These Chewy Chocolate Chip Granola Bars
- Soft and chewy granola bars with a classic texture
- No-bake recipe that comes together quickly
- Made with simple ingredients from the grocery store
- Great for school lunches and snack time
- Perfect for chocolate lovers
Ingredients You'll Need
- Old-fashioned rolled oats
- Crispy rice cereal
- Mini chocolate chips
- Unsalted butter
- Brown sugar
- Honey
- Vanilla extract
How to Make Chocolate Chip Granola Bars
- Line an 8×8-inch baking dish with parchment paper, leaving extra hanging over the sides. Set aside.
- In a large bowl, combine the oats and crispy rice cereal. Set aside.
- In a small saucepan over medium heat, combine the butter and brown sugar. Stir until melted and smooth.
- Add the honey and bring the mixture to a gentle boil. Cook for 2 minutes, stirring constantly.
- Remove from heat and stir in the vanilla extract.
- Pour the butter mixture over the oat mixture and stir until evenly coated.
- Let the mixture cool for 5 minutes, then fold in the mini chocolate chips.
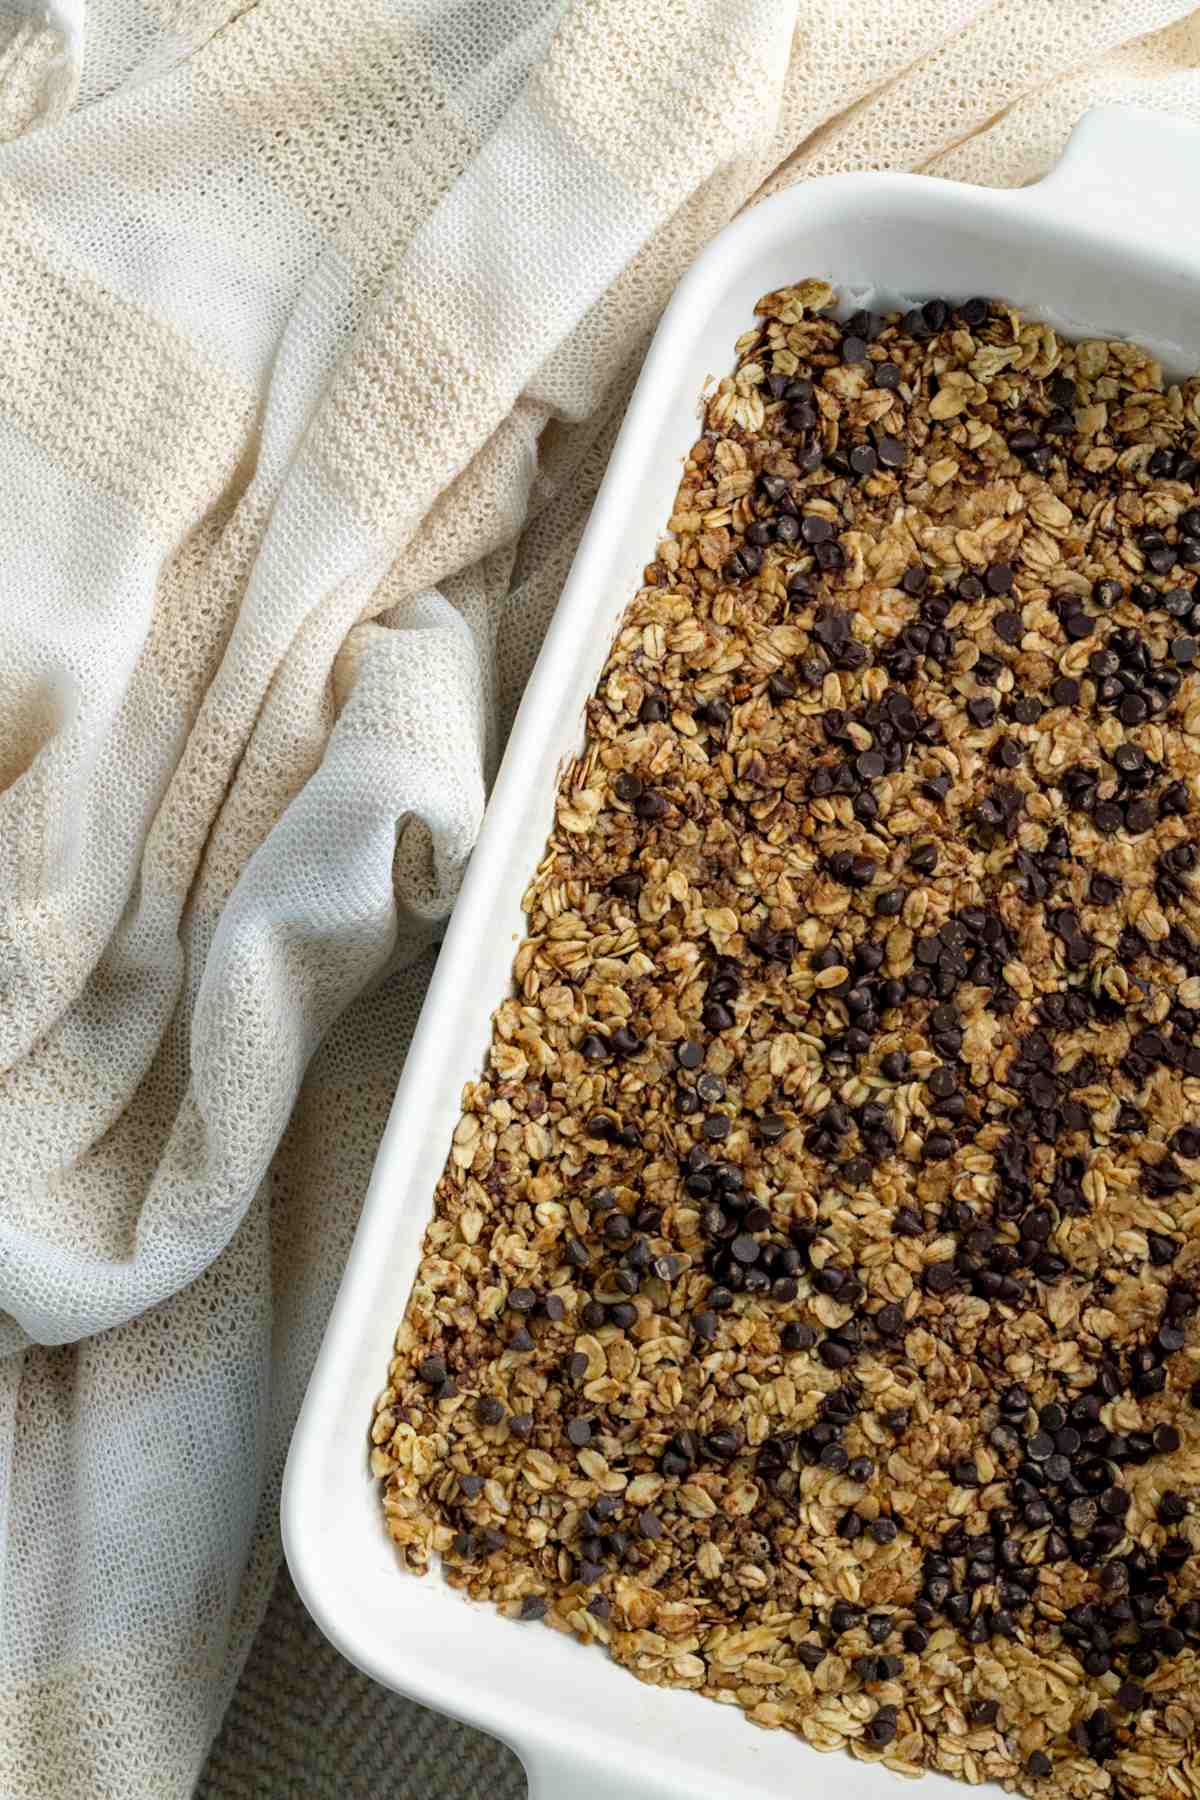
- Transfer the granola mixture to the prepared pan. Press firmly into an even layer using parchment paper or plastic wrap.
- Refrigerate for at least 1 hour, or until fully set.
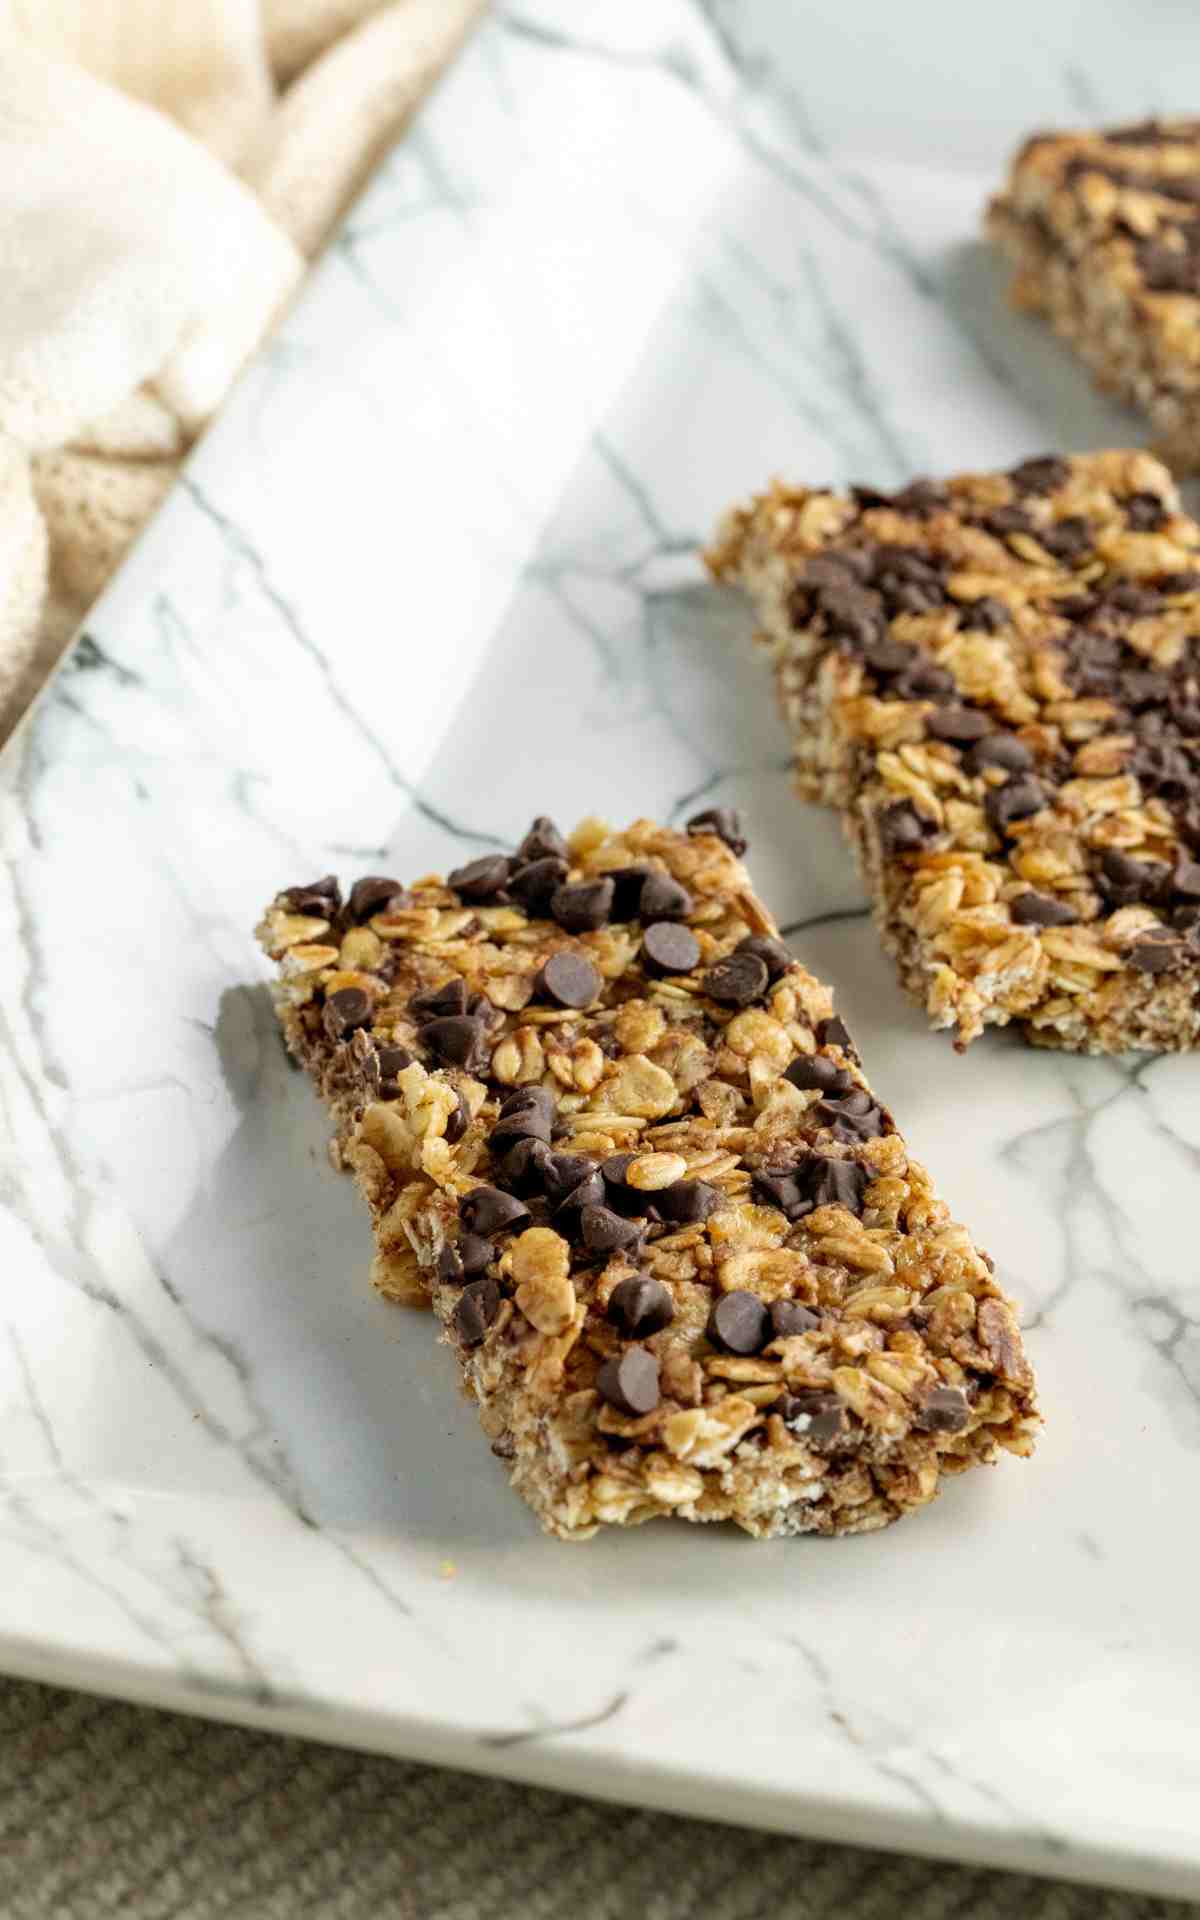
- Lift from the pan and cut into bars with a sharp knife.
Tips for the Best Chewy Granola Bars
- Press the mixture firmly into the pan so the bars hold together well
- Let the mixture cool slightly before adding chocolate chips so they don't melt
- Chilling fully before slicing gives clean edges
- Cut into smaller pieces for granola bar bites
Variations and Add-Ins
One of the best things about homemade granola bars is how easy they are to customize. This granola bar recipe works well with a variety of add-ins and simple swaps.
- Chocolate options: Swap mini chocolate chips for regular chocolate chips or dark chocolate chunks.
- Nut and seed swaps: Use almond butter, seed butter, or sunflower seed butter instead of peanut butter.
- Extra crunch: Add chopped nuts, pumpkin seeds, or extra sunflower seeds to the granola mixture.
- Dried fruit: Try raisins, dried cranberries, chopped apricots, or dates in place of your usual dried fruit.
- Cereal swap: Replace part of the crispy rice cereal with more oats for a heartier bar.
- Sweetener options: Honey can be used instead of maple syrup if preferred.
These swaps make it easy to use what you already have on hand and create a whole new batch next time without changing the method.
Storage and Make Ahead Tips
Store granola bars in an airtight container in the refrigerator for up to 1 week. These bars can also be frozen for longer storage.

More Everyday Recipes to Try
If you enjoy simple homemade snacks, these recipes are great options for busy days and casual baking.
- Cappuccino Muffins - Soft muffins with chocolate chips that work well for breakfast or snack time.
- Oatmeal Raisin Cookies with Whole Wheat Flour - A chewy, oat-based cookie that's easy to pack for lunches or afternoon snacks.
📖 Recipe
Homemade Chocolate Chip Granola Bars
Ingredients
- 3 cups old-fashioned oats
- 1 cup puffed rice cereal
- 4 tablespoons unsalted butter
- ½ cup brown sugar
- ⅓ cup honey
- ½ teaspoon salt
- 1 teaspoon vanilla extract
- 1 cup mini chocolate chips
Instructions
- Line an 8×8 square dish with parchment paper and set aside.
- In a small saucepan, melt the butter, then add the brown sugar.
- Stir in the honey and bring to a low boil for 2-3 minutes, stirring constantly.
- Remove from heat and stir in the salt and vanilla extract.
- In a large bowl, stir together the puffed rice cereal and old-fashioned oats.
- Pour the butter mixture over the oat mixture and stir until evenly coated.
- Stir in ½ cup mini chocolate chips.
- Transfer mixture to the prepared dish and press evenly to the corners.
- Sprinkle remaining mini chocolate chips on top and gently press them in.
- Chill at least 1 hour, then lift out and cut into 10 rectangles.
Notes
- Press firmly for the best chewy texture and bars that hold together cleanly.
- Let the honey mixture cool just a minute before adding chocolate chips so they don't melt. (This keeps the "half in, half on top" look.)
- Storage: There's no need to store these in the refrigerator, but for best quality, enjoy within 1 week and keep in an airtight container.
Nutrition
Nutritional information is an estimate based on third-party calculations. Actual values may vary due to ingredients, measurements, and serving sizes.
© Popular Recipes

Dana is the lead recipe developer and photographer for PopularRecipes.com. With her 10+ years of experience creating, testing, and photographing recipes, she has become an artist in developing wholesome, family-friendly meals that are a hit with both kids and parents.
Leave a Reply